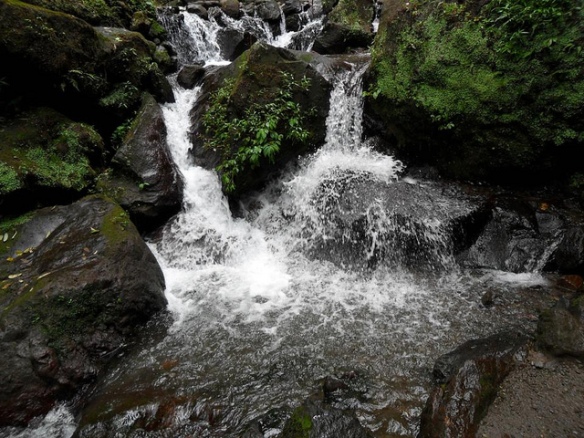
‘Recife in Sepia’ Image by Roseli Serra for eltpics
We thought you’d like another post from Brazil…… :), this time from a prolific lady eltpics contributor who really needs little introduction. ‘To know her is to love her’ – and she’s even included a bio at the end of her post, so I don’t need to work too hard!
Roseli Serra is a star member of many teachers’ PLNs, she’s warm and caring and even if you’ve never met her face to face, as is my case, you feel like you’ve known her for years. So it is with great pleasure that I bring you ………. Roseli Serra! (I love this job..)
How it started:
Photography has always played a very important role in my life thanks to my husband, an eye doctor and amazing photographer who taught me how to take pics, the angles, how to focus and play with pictures.
In 2012 my life changed drastically. My professional life changed completely, my mom was recovering from breast cancer, and I was suddenly feeling lost. For me it was as if the floor had been taken from my feet, the world had stopped spinning and I did not know where to go or what direction to take.
I had joined FB a year before (in 2011), and had no idea or could not see how important this social network could be for the development of my professional life. It was when I started building my PLN, joined ELT interest groups and then became an active member of ELTpics. There I made real friends and have shared amazing knowledge. I had never heard about it before and, right in the middle of a new restarting in my life, I found something that really interested me and made me happy: Photography. Not only regular photographs. Instead, pics taken by teachers, for teachers and students, to be used in the classroom as one of the best hands-on resources ever. Coincidentally, at that time, Ceri Jones delivered a session at the Braz-TESOL Pernambuco chapter on how to use pictures in the classroom. In addition, she gave the audience lots of good tips on how to take good shots and what to do with them in the classroom.
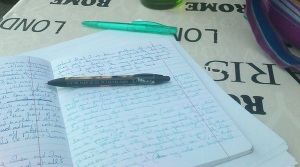
Having been in the field for a long time, I remember looking for pictures in magazines, laminating them and making flaschards to present vocabulary or drill some pieces of language. A very time consuming task, the pictures were from magazines and very easily became out of date. More than ever we are living in the visual era, thanks to technology, the massive use of the internet, and Smartphones which take pics and share them easily. So ELTpics is there to be used in the classroom, with educational purposes.
How I’ve used ELT pics in the classroom: some simple ideas and activities:
1. Ice breaker : Two pictures
Aim: To revise questions and physical descriptions
– Display the pic on the screen with the following prompts for the students to talk in pairs or groups.
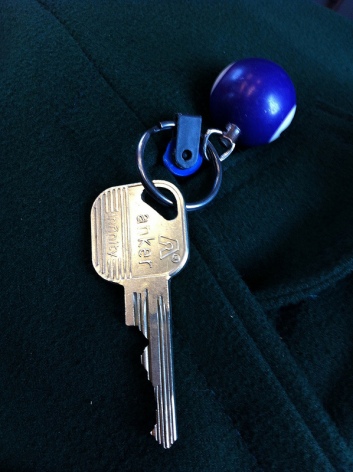
Picture 1 (take an image from the set Feet and Footwear):
Who? How old? Where? What/ doing? What/ wear?/ What/ going to do? How / would /describe him/her/them?

Images by Fiona Mauchline and Hana Tichá for eltpics
Picture 2 :
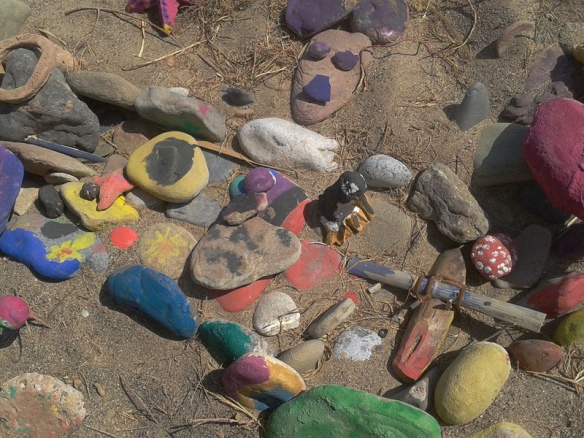
Where? What time of the day? How / know? Weather like? What/ temperature? What can you see? How would you feel if you were there?

Image by Dace Praulins at eltpics
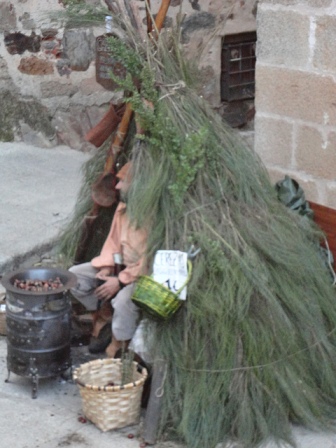
2. Story telling – The Couple in the Picture

Image by Ian James for eltpics
Outline:
• SS get into the mind of the characters and write up their mental storyboard , which builds up the final image
Focus: Writing practice: Narrative tenses for story –making ( past simple, past continuous , past perfect
Steps:
Group discussion: Show students a picture – we suggest one of the two given here. Present students with prompt words and sentences and have them discussing. After feedback to the whole class, each pair of students writes a story about the picture. (Depending on the level you can provide them with some vocabulary, idioms or any piece of language they are expected to use). Students exchange stories and tell the group their friends’ stories.
Follow up: Students compare and contrast their stories. As homework, students can choose a pic from ELTpics and create their own stories based on the pictures chosen.

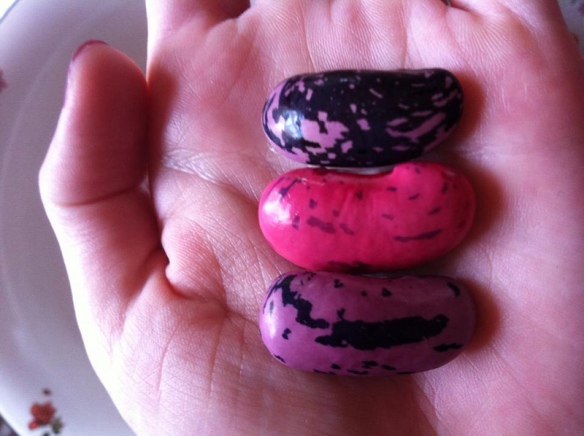
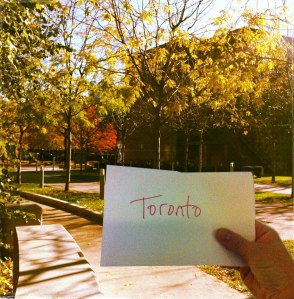
Image by Roseli Serra for eltpics
Example prompt questions:
o Where?
o When / first meet?
o In what circumstances?
o How long/ together?
o Happy?
o What/ thinking?
o Feel: lonely? Loved? Cared?
o Imagine: their lifestyle? What’s it like?
o Does this couple remind you of someone you know? Who? Why?
o Would anybody approach them to talk? If so what would they talk about?
3. My family photos
Focus: Examining the difference between two pictures
Aims:
• To compare and contrast two or three pictures and use taught vocabulary such as prepositions of places, clothes, physical description, feelings, etc.
• To use narrative tenses to tell a story
• To create a story (together, if you wish) about the pictures or simply describe them.
Steps:
– Show the students two photographs of the same family.
– Ask them to describe the photos using the vocabulary listed above – compare and contrast them.
– Set the time when the photos were taken and ask students to write a story about them.
– As homework, students could repeat the procedure using their own photos and presenting to their classmates in the following class using PowerPoint presentation, Smore, Glogster, or paper.

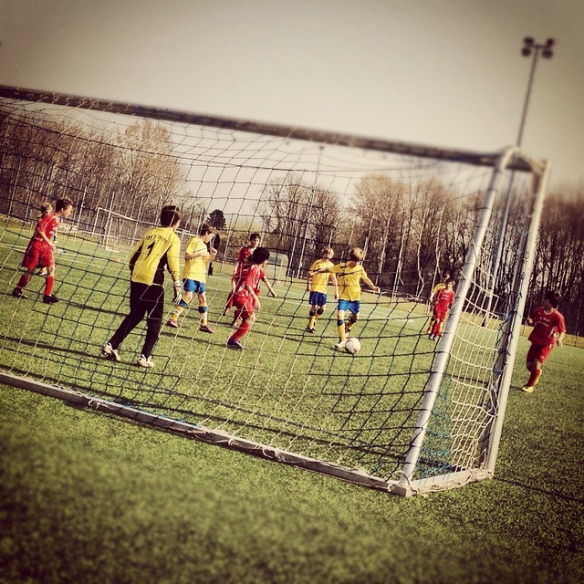
4. Who am I?

Image by Mieke Kenis at eltpics
Outline: Students create a role for a person in an image, describing their character’s feelings and then guess the person chosen and developed by others.
Focus: Tense overview: uses of present continuous and future and construction such as
o I wish… / I regret…, hypothetical language: you must be… etc.
Level: Intermediate to advanced
Steps:
o Show the students an image or 2 (display on the screen) in which different people are present.
o Each student, individually, chooses one of the people in the photo and thinks about him/her for a couple of minutes.
o Write some questions on the board so that students can practise different tenses:
Ex: What’s my name? Where am I? How am I feeling now? How do i relate to other people here? What will happen next? What do I regret? What do I wish for the world? Etc.
o Students write down the answers to the questions while teacher monitors their writing.
o Put students in groups and one student at a time reads about his/her work. The others have to guess who they are talking about by looking at the image on the screen.
The activities I’ve posted here are just a few of those I’ve done with my students using ELTpics. Pictures are also good for presenting language, introducing vocabulary, playing games and a lot more. Just let your imagination flow, use your creativity and enjoy your teaching!
********************************************************************************************
Roseli Serra (@SerraRoseli) is an educator from and in Recife, Brazil. She’s an ELT consultant, E-Moderator, teacher, teacher trainer, mentor, Cambridge Examiner, and Materials Writer. Roseli has been in the field of ELT/ ESL and EFL for over 30 years now. She loves blogging, writing, mentoring, and mainly sharing about education. She loves working with photography and technology and teaches different age groups, from 10 year-old students to adults. She’s also the ESL Editor for Wandering Educators and a monthly writer for the Richmond Share blog.